> ## Documentation Index
> Fetch the complete documentation index at: https://docs.filecheck.io/docs/llms.txt
> Use this file to discover all available pages before exploring further.
# Build a Workflow
> Assemble the pipeline a file travels through — intake while the customer waits, then processing once a trigger fires.
A **Workflow** is the fulfillment pipeline for files. Every customer-facing upload flows into one. You assign it a [Rule](/configuration/upload-rules) at intake, then define what happens to the files afterward — fixing, optimizing, splitting, merging, exporting. Workflows are built in the **Workflows** tab.
 ## The two phases: intake and processing
This is the most important idea in a Workflow. The pipeline is split in two by a **trigger**.
Runs **while the customer waits**. The assigned Rule accepts the files and runs its preflight/validation. This phase is deliberately fast — it only decides whether the upload is good enough to proceed.
Runs **after a trigger fires** — not while the customer waits. This is where files are auto-fixed (based on the earlier preflight), optimized, split, merged, and exported to their final shape.
A Rule only ever governs the **intake** phase. Everything downstream is the Workflow's job. That separation is why the same Rule can be reused by many different Workflows.
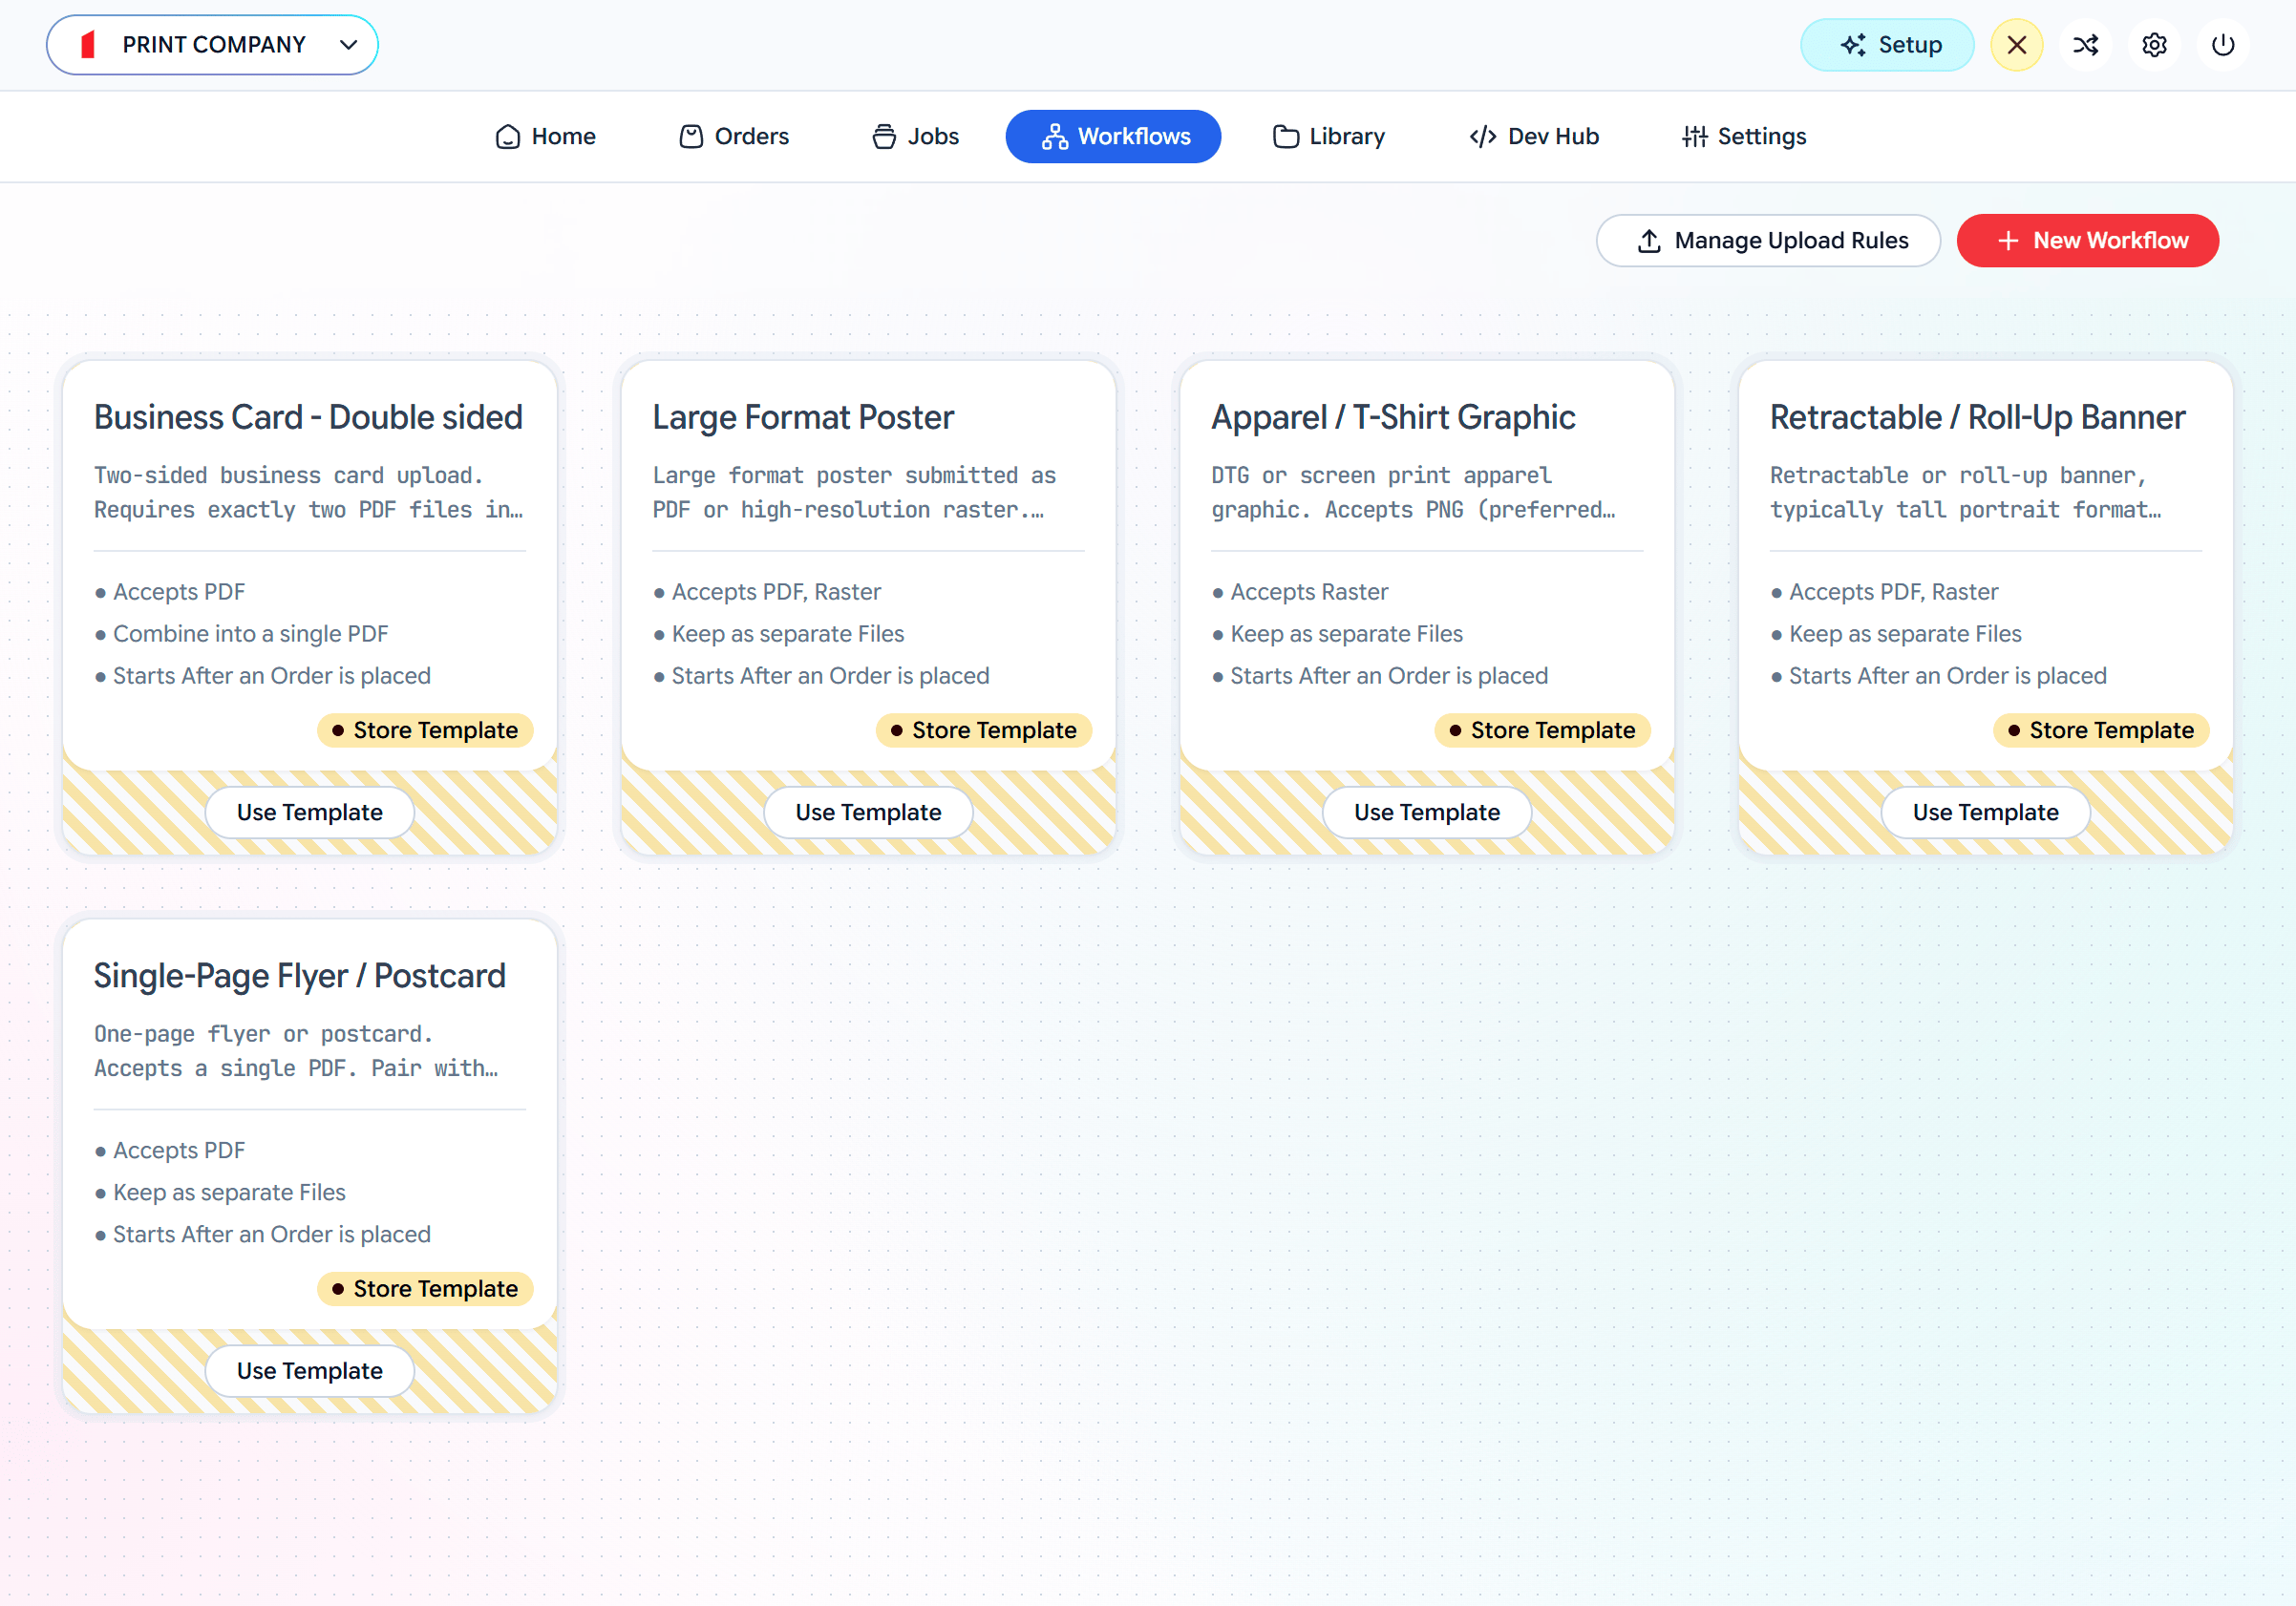
## Build one
Open the **Workflows** tab. **Use Template** on a product card, or **New Workflow**. The editor shows the pipeline top to bottom.
In the **Intake / Upload Rule** stage, **Select an Upload Rule** (or **Create New Rule**). This sets what customers can upload and what gets preflighted. See [Rules](/configuration/upload-rules).
Turn on **Soft-proofing** to show the customer a preview to approve before processing continues. See [Soft-proofing](/concepts/soft-proofing).
Decide **when the workflow should proceed** from intake into processing (below).
Set what happens to the files once triggered — autofix, optimize, split, and how to **Merge** the outputs.
Save the workflow. It gets an id (`wf_…`) you reference from the [Element](/element/create-and-mount) as `workflowId`, or select as the default in a [plugin](/integrations/woocommerce).
## Triggers: when processing starts
The trigger is the gate between intake and processing.
## The two phases: intake and processing
This is the most important idea in a Workflow. The pipeline is split in two by a **trigger**.
Runs **while the customer waits**. The assigned Rule accepts the files and runs its preflight/validation. This phase is deliberately fast — it only decides whether the upload is good enough to proceed.
Runs **after a trigger fires** — not while the customer waits. This is where files are auto-fixed (based on the earlier preflight), optimized, split, merged, and exported to their final shape.
A Rule only ever governs the **intake** phase. Everything downstream is the Workflow's job. That separation is why the same Rule can be reused by many different Workflows.
## Build one
Open the **Workflows** tab. **Use Template** on a product card, or **New Workflow**. The editor shows the pipeline top to bottom.
In the **Intake / Upload Rule** stage, **Select an Upload Rule** (or **Create New Rule**). This sets what customers can upload and what gets preflighted. See [Rules](/configuration/upload-rules).
Turn on **Soft-proofing** to show the customer a preview to approve before processing continues. See [Soft-proofing](/concepts/soft-proofing).
Decide **when the workflow should proceed** from intake into processing (below).
Set what happens to the files once triggered — autofix, optimize, split, and how to **Merge** the outputs.
Save the workflow. It gets an id (`wf_…`) you reference from the [Element](/element/create-and-mount) as `workflowId`, or select as the default in a [plugin](/integrations/woocommerce).
## Triggers: when processing starts
The trigger is the gate between intake and processing.
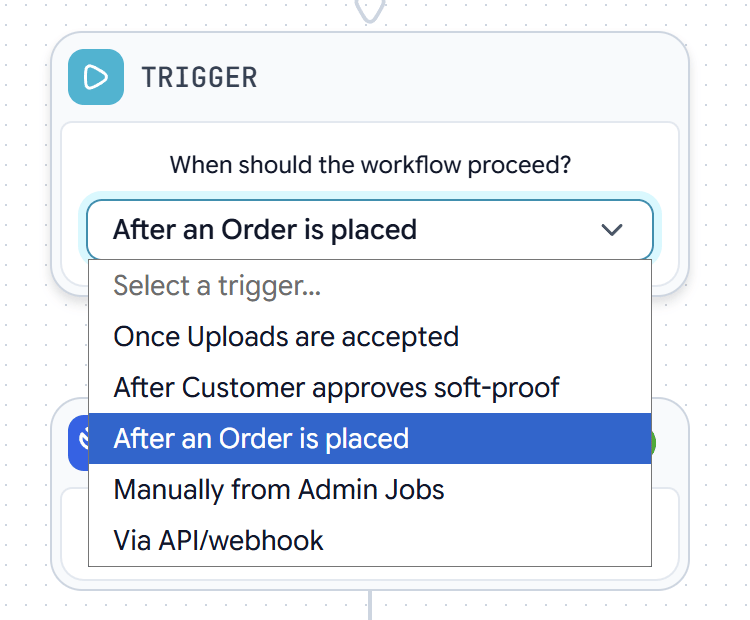 | Trigger | Processing starts… |
| -------------------------------------- | ------------------------------------------------------- |
| **Once uploads are accepted** | Immediately after intake passes — no waiting. |
| **After customer approves soft-proof** | When the customer signs off on the preview. |
| **After an order is placed** | When checkout completes (the common e-commerce choice). |
| **Manually from Admin Jobs** | When an admin clicks **Run** on the job. |
| **Via API / webhook** | When an external system fires it. |
Using **After an order is placed** means you don't spend processing on files that never convert to a sale — preflight happens up front, the heavy work only after the customer pays.
## Processing: shaping the output
Once triggered, files run through processing steps, which differ by file kind:
* **PDF** — autofix (correct the issues preflight found) → optimize (apply an [Optimization Preset](/configuration/presets)) → split pages.
* **Raster** — autofix → optimize → convert (e.g. to PDF).
After per-file processing, the **Merge** stage decides what to do with the outputs:
| Merge mode | Result |
| ------------------------ | ---------------------------------------- |
| **Keep separate** | Each file passes through individually. |
| **Combine into one PDF** | Concatenate the files into a single PDF. |
| **Zip** | Bundle everything into one archive. |
Each run of a file through this pipeline produces a [Job](/configuration/jobs) you can inspect and download.
Force a PDF or Raster into a target shape in the optimize step.
Where the processed files end up and how to get them.
| Trigger | Processing starts… |
| -------------------------------------- | ------------------------------------------------------- |
| **Once uploads are accepted** | Immediately after intake passes — no waiting. |
| **After customer approves soft-proof** | When the customer signs off on the preview. |
| **After an order is placed** | When checkout completes (the common e-commerce choice). |
| **Manually from Admin Jobs** | When an admin clicks **Run** on the job. |
| **Via API / webhook** | When an external system fires it. |
Using **After an order is placed** means you don't spend processing on files that never convert to a sale — preflight happens up front, the heavy work only after the customer pays.
## Processing: shaping the output
Once triggered, files run through processing steps, which differ by file kind:
* **PDF** — autofix (correct the issues preflight found) → optimize (apply an [Optimization Preset](/configuration/presets)) → split pages.
* **Raster** — autofix → optimize → convert (e.g. to PDF).
After per-file processing, the **Merge** stage decides what to do with the outputs:
| Merge mode | Result |
| ------------------------ | ---------------------------------------- |
| **Keep separate** | Each file passes through individually. |
| **Combine into one PDF** | Concatenate the files into a single PDF. |
| **Zip** | Bundle everything into one archive. |
Each run of a file through this pipeline produces a [Job](/configuration/jobs) you can inspect and download.
Force a PDF or Raster into a target shape in the optimize step.
Where the processed files end up and how to get them.