Two kinds: PDF and Raster
A profile is tied to a file family, because PDF and raster images are checked in completely different ways.PDF profile
For PDF uploads. Checks page geometry, color, fonts, images, and PDF structure.
Raster profile
For image uploads (JPEG, PNG, TIFF). Checks resolution, color mode, dimensions, and aspect.
Create one
The fastest start is to clone a pre-loaded profile (PDF/X-4 Compliant, Print-Ready PDF, Photo Print, and more) and adjust it, rather than building from scratch.Open the Library
Go to Library → Preflight Profiles. Use the All / PDF / Raster filter to narrow the list.
Clone or create
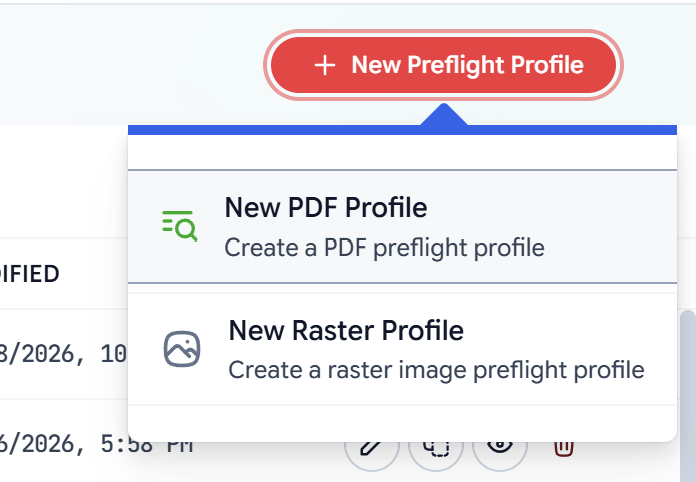
Click the clone icon on a profile close to what you want, or New Preflight Profile and choose New PDF Profile or New Raster Profile. Give it a clear name.
Configure the checks
Work through the sections, enabling the checks you need and setting their target values and actions (below).
Every check: target + action
Toggle a check on to reveal its settings. Each check has two parts:Target
The acceptable value or range — for example bleed Required 3 mm, Tolerance 0.2 mm, on which Sides. The configurable settings differ per check; they’re listed on each section page below.
Action
What happens when the file misses the target. Four actions, described next.
The four actions
Every check’s action is one of:| Action | What happens | Customer can proceed? |
|---|---|---|
| Reject | The file is blocked at intake. The customer must fix and re-upload. | No |
| Warn | The issue is flagged but the file may continue. | Yes |
| Auto-fix | Filecheck corrects the issue automatically in the workflow’s processing stage. | Yes |
| Off | The check is disabled (not evaluated). | — |
Only checks marked Auto-fix are repaired, and only those whose code supports it. The action shown on each section page is the default for that check — you can change it per profile. Auto-fix runs during processing, not at intake. See Remediation.
How a finding is shown to the customer
When a check fails, the customer sees a plain-language issue, a manual fix, and — if the check auto-fixes — what Filecheck will do for them. The section pages quote these messages. Values in{curly braces} are filled in at runtime (for example {target.required_mm} becomes 3).
Check reference, by section
PDF checks are grouped into five sections; raster profiles use one. Each page below documents every check in that section — its action, whether it auto-fixes, its settings, and the message the customer sees.Page Checks
Page count, size, orientation, bleed, trim, safety margins, rotation, layout.
Colors
Color mode, ink coverage, spot colors, ICC/output intent, rich black, overprint.
Fonts, Text & Strokes
Font embedding, subsetting, minimum sizes, stroke widths, outlining, safe zones.
Images
Effective resolution, compression, color space, bit depth (images inside PDFs).
PDF Structure
Transparency, layers, annotations, scripts, encryption, versions, PDF/X & PDF/A.
Page Rules
Per-page overrides — different checks for covers vs. interior pages.
Raster Checks
The full check set for raster (image) profiles.
Next: use this profile in a Rule
Assign the profile to a Rule so it runs against uploads at intake.